2.7 KiB
About The Project
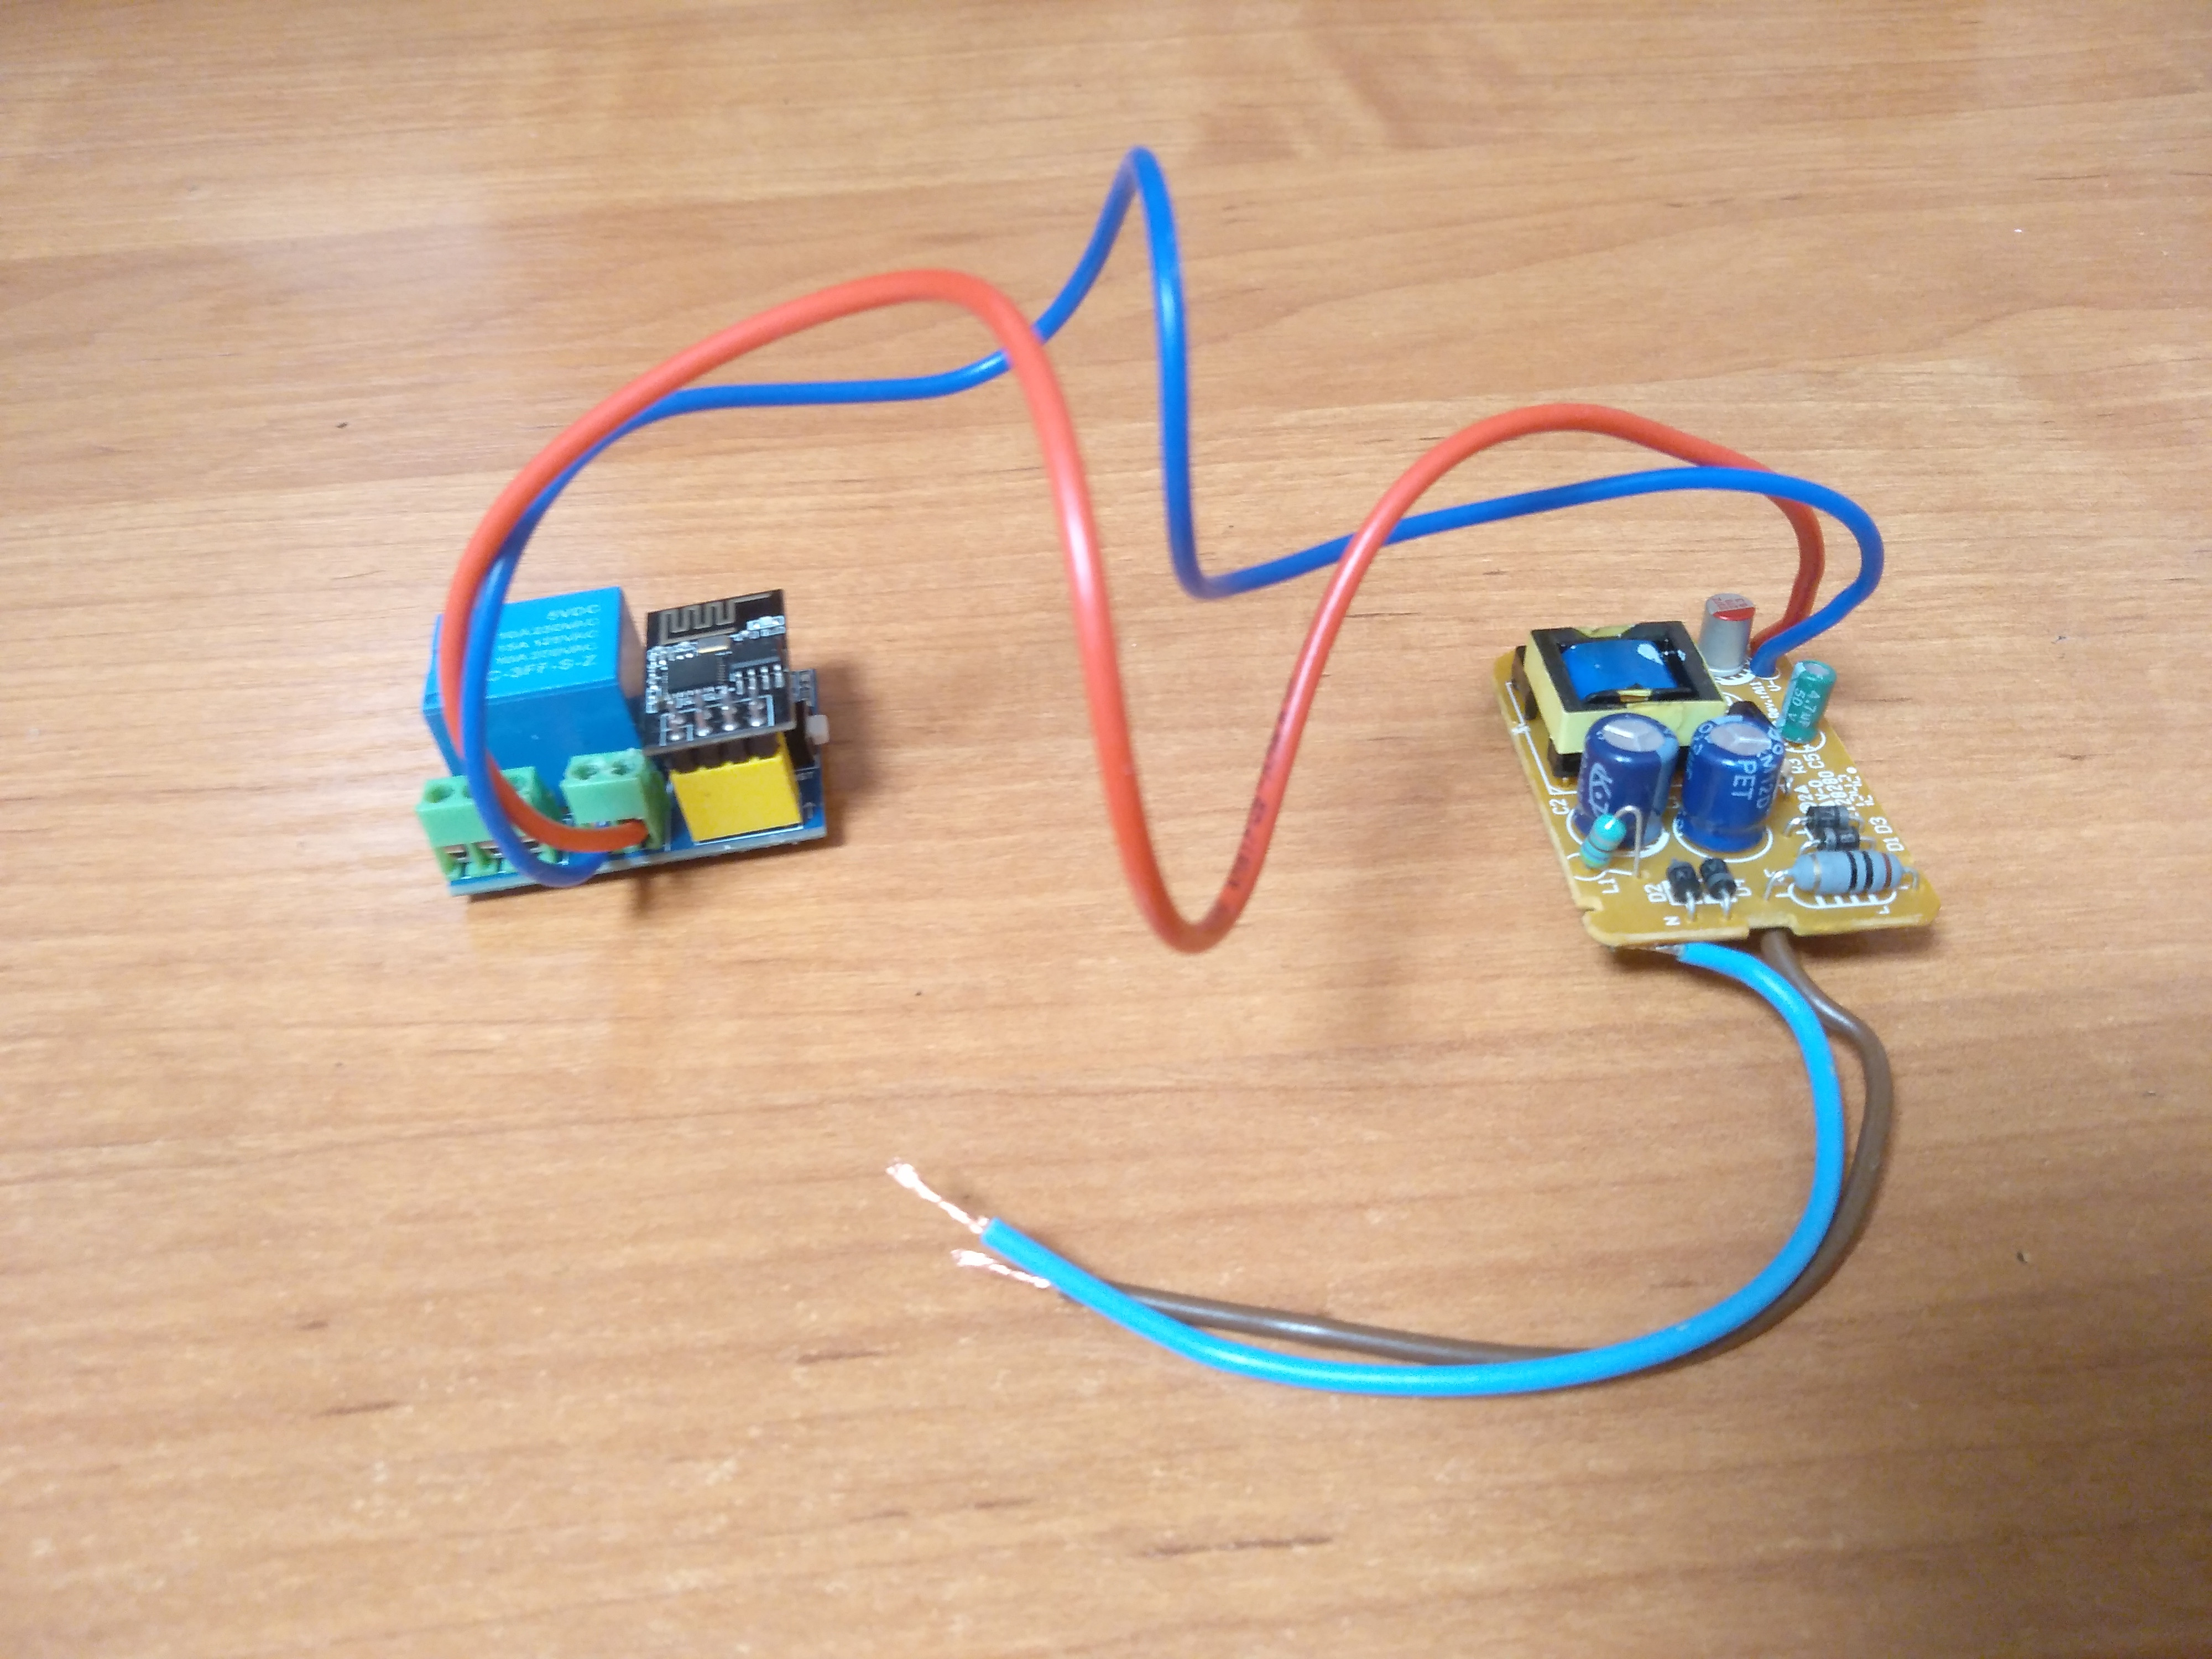
This project was designed to facilitate deployment of a Wi-Fi relay. Advanced users can also extend its functionality with ease.
Example device
Installation
-
Open .ino file in Arduino IDE
-
Select COM port and Board in the tools
-
Change the following constants:
WIFI_SSID- SSID of your Wi-Fi network,WIFI_PASSWORD- Wi-Fi password,MQTT_HOST,MQTT_LOGIN,MQTT_PASSWORD- as required to connect to your MQTT Broker.
It is also recommended to change your
OTAUSERandOTAPASSWORD. -
Flash the firmware to the ESP.
Usage
The MQTT Protocol is used in many smart home projects, and this repository is no exception. A server with a MQTT Brocker installed and a client that can handle requests are required.
To enable or disable the relay, send 1 or 0 to setStateTopic.
Сurrent status of the relay can be obtained in stateTopic.
Home Assistant template config
light:
  - platform: mqtt
    name: "Light 1"
    command_topic: "dvor/light1/state/set"
    state_topic: "dvor/light1/state"
    payload_on: "1"
    payload_off: "0"
    qos: 1
MQTT Topics
ipTopic- returns the IP address after entering boot modebootTopic- required for HTTP updatersetStateTopic- necessary to get information from MQTT brokerstateTopic- checks whether the relay is enabled
OTA Update
- Send
1inbootTopicto enable firmware update mode - Get relay's IP address from
ipTopic(this can be done with MQTT-Explorer) - Go to
http://{ip}/firmwarein your Internet browser - Enter your username and password (Default:
admin/admin) - Select the file and click Update Firmware
Libraries
Contributing
Contributions are what make the open source community such an amazing place to be learn, inspire, and create. Feel free to contribute to this project.
License
Distributed under the MIT License. See LICENSE for more information.
Contact
Sergey Karmanov - @serega404


